Navigating the world of databases can be a daunting task, particularly in an age where organizations often find themselves struggling with complex, hybrid IT structures. Furthermore, managing these diverse databases can turn into a balancing act, juggling maintenance, recovery, patching, and security. Additionally, the heavy licensing fees associated with platforms like Microsoft SQL Server only add to these headaches. However, there is a solution: migrating your SQL Server database to the Google Cloud Platform.
Transitioning Your SQL Server to Google Cloud Platform
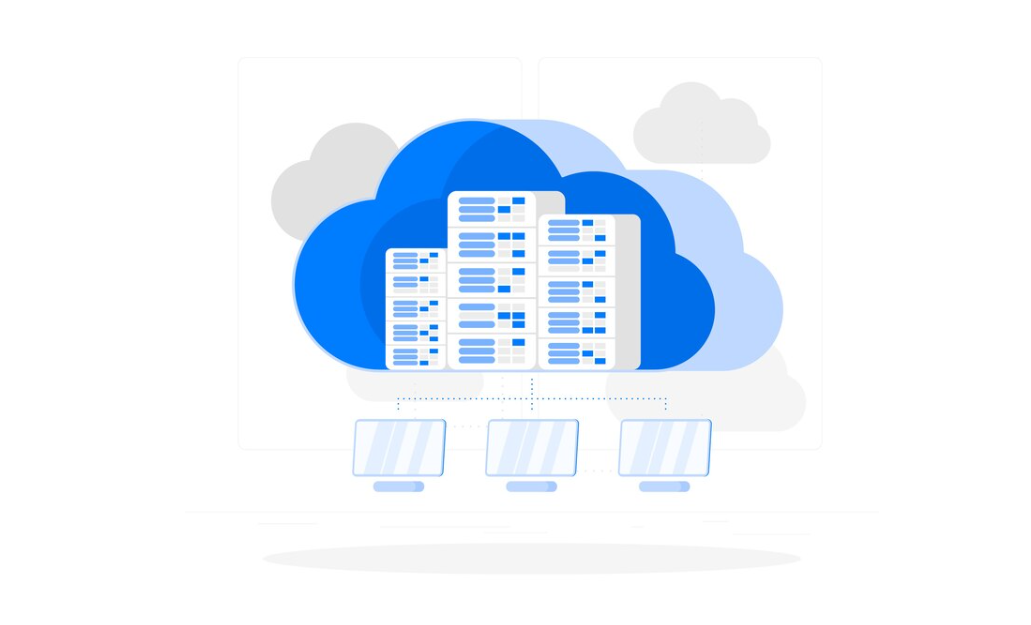
SQL Servers, including Microsoft SQL Server, PostgreSQL, and MySQL, are common in many organizations, often leading to a hybrid IT architecture with multiple database types. Imagine a scenario where your organization uses every available database type on-premise, creating a complex environment for your DBAs and system support team. This setup not only involves intensive management, maintenance, and security efforts but also incurs increasing yearly licensing costs.
Enter Google’s Cloud SQL service. Cloud SQL isn’t just another database option by Google; it’s a versatile SQL platform that supports various databases, including Microsoft SQL Server, MySQL, PostgreSQL, right in the Google cloud. This solution allows for seamless integration with your existing databases, enabling connection through your preferred local tools. Cloud SQL offers significant advantages like cost savings, minimal maintenance, and superior performance in a managed database environment.
This shift is particularly relevant for IT departments currently using co-location centers for their data/database systems. Transitioning to the cloud not only alleviates the burden of heavy licensing costs but also transforms system management needs.
Transitioning to Cloud SQL involves a straightforward process where you select the desired database image and initiate the migration of your database to the Google Cloud Platform, as detailed in the steps below.
For clarity, we refer to the Google Cloud Platform console as the “GCP console” throughout our guide.
Interested parties can start by signing up for a Google Cloud account, which is almost free. By contacting us, you may be eligible to receive up to $500 in free credits through our partner programs, exclusive to Google Cloud select partners like Acumen Velocity.
The following instructions outline how to migrate your Microsoft SQL Server to Google Cloud. This transition ensures that you maintain full control while delegating the management of the database, thus reducing your responsibilities. Additionally, this approach offers cost-effective benefits, as you only pay for licensing and hardware during usage, avoiding hefty annual licensing fees.
Setting Up a Microsoft SQL Server Instance
To set up a Microsoft SQL Server on Google Cloud Platform, here’s a unique step-by-step guide:
- Navigate to GCP Console: Sign in and select the SQL option from the menu on the left;
- Begin Instance Setup: Click the “CREATE INSTANCE” button to initiate the Cloud SQL instance configuration;
- Choose SQL Server: Click on “Choose SQL Server” to select the SQL Server option;
- Enter SQL Instance ID: Input a distinct SQL instance ID (like “acumensqlserverinst”), following the provided guidelines;
- Create an Access Password: Set a password (such as “root”) for accessing the instance;
- Pick Region and Zone: Choose a desired Region (e.g., “us-central1”) and Zone, or leave the Zone as “any” for Cloud SQL to auto-select;
- Version and Edition of Database: Select from the list, such as “SQL Server 2017 Standard”;
- Choose Machine Type: Select a machine type with high memory, like “4vCPU, 26 GB”, as SQL Server performs better with more memory. This can be modified later;
- Storage Capacity Decision: Choose a storage size, like 200 GB. Larger disk sizes improve performance and increase operations per second;
- Enable Auto Storage Increase: Turn on this feature to avoid unexpected disk space shortages;
- Activate High Availability: Opt for high availability to set up a standby instance in another zone for extra security;
- Finalize Instance Creation: Click the “Create” button to start building the SQL Server instance;
- Monitor Instance Formation: A progress bar will show the setup status;
- Set Up Connections: After the instance is ready, go to the “Connections” section to adjust connectivity;
- Add Network Access: Click “Add network” and input a client computer’s IP address for access. This allows database operations through client-side tools;
- Locate Client IP Address: Search “what is my ip address” on Google to find your client computer’s IP;
- Save Network Configurations: After entering the IP address, click “Done” and then “Save” to complete the network setup.
Exporting SQL Database Schema and Data for Cloud Migration
To migrate a SQL database schema and data to a cloud environment like Google Cloud SQL, follow these expanded steps:
- Access the SQL Server: Using Microsoft SQL Server Management Studio, connect to the on-premise SQL Server that contains the database you wish to migrate. Right-click on the relevant database and navigate to “Tasks” > “Generate Scripts…”;
- Script Generation Wizard: An introductory dialog window will appear, guiding you through the script generation process;
- Select Database Objects: In the “Choose Objects” section, you will see a list of all tables within your selected database (for instance, “AcumenHR”). Here, you can specify which tables or objects to include in the script;
- Scripting Options and Data Types: Go to “Set Scripting Options” and proceed to “Advanced” settings. In the “Advanced Scripting Option” dialog, set “Types of data to script” to “Schema and Data”. This ensures that both the database structure and its content are included in the script;
- Review Script Summary: A summary dialog will display your selections and settings. Review and proceed by clicking “Next”;
- Script Generation and Saving: The “Save or Publish Scripts” dialog shows the progress of the SQL script generation. Once complete, click “Finish” to save the script file (with a .sql extension) in your chosen location;
- Script File Creation: The process results in the creation of a migration script, named (for example) “AcumenHR.sql”, which you can then use for database migration to the cloud.
Creating Database in Cloud SQL’s SQL Server instance
Setting Up and Populating a Database in a Cloud SQL SQL Server Instance
- To create and populate a database in a Cloud SQL SQL Server instance, follow these comprehensive steps;
- Launch SQL Server Management Studio (SSMS): Open SSMS on a client computer with authorized access. In the “Object Explorer” window, click on “Database Engine…” to open the server login window;
- Connect to the Cloud SQL Instance: Input the public IP address of the Cloud SQL instance in the “Server Name” field of the login window. Then, enter the user ID and password for the instance and click on “Connect”;
- Access SQL Server Explorer: Upon successful connection, the SQL Server explorer window will open;
- Initiate Database Creation: Right-click on the “Databases” folder in the SQL Server explorer and select “New Database…”;
- Define the New Database: In the resulting dialog, enter the desired database name (e.g., “AcumenHR”) in the “Database name” field and confirm by clicking “OK”;
- Confirm Database Addition: The new database “AcumenHR” will now be listed under the “Databases” folder;
- Open SQL Script File: Go to “File” > “Open” > “File…” in the menu bar and navigate to the SQL script file;
- Choose the Migration Script: Select the previously generated SQL script file, such as “AcumenHR.sql”, from the file selection window;
- Prepare to Execute Script: The “AcumenHR.sql” file will open in SSMS;
- Execute the Script: Click within the script window and press the “Execute” button on the toolbar to run the SQL script;
- Refresh Database View: After the script execution is complete, right-click on “Databases” and select “Refresh” to update the view;
- Verify Data Import: Check that the tables and data have been successfully imported into the new SQL Server database;
- Database Listed in GCP Console: Verify that the creation of the new database “AcumenHR” is reflected in the Google Cloud Platform console;
- Update Database Connection String: Finally, update or add the database connection string as needed for applications or services to access the database.
The format for the connection string to Google Cloud SQL should resemble:
Server=xxx.xxx.xxx.xxx;
Database=DB_NAME;
Uid=USER_NAME;
Password=PASSWORD;
Replace “xxx.xxx.xxx.xxx” with the public IP address of the GCP SQL Server instance.

To integrate your application with a cloud-based SQL database, modify the connection string in your application’s configuration file as outlined below:
- Location for Connection String: In .NET applications, avoid using the appSettings section in web.config for database connection strings. Instead, utilize the connectionStrings section in web.config;
- Reading the Connection String: Implement the ConfigurationManager class to retrieve the connection string in your code. This requires adding a reference to the System.Configuration assembly;
- Include Necessary Namespace: In your code, import the System.Configuration namespace to access the ConfigurationManager class. Use the following syntax based on your programming language:
// C#
using System.Configuration;
// VB.Net
imports System.Configuration
- Clearing Higher Level Connection Strings: Configuration files in .NET are hierarchical. The highest level is machine.config. To avoid inheriting unwanted settings from higher levels, clear previous connection strings;
- Use <clear/> Tag: Insert the <clear/> tag at the beginning of the connectionStrings section. This ensures that no other connection strings from higher-level configuration files interfere with your specific settings.
By following these steps, you ensure that your application correctly connects to the new cloud-based SQL database, with a clean and precise configuration that avoids conflicts from inherited settings.
Conclusion
In conclusion, these outlined steps aim to assist in configuring and migrating your Microsoft SQL Server to Google Cloud Platform. The guide also covers connecting your applications utilizing SQL Server to Google Cloud. Should you have any questions or require further assistance, feel free to reach out for support.